jenkins-plugin-cli --plugins gradle:2.11

Gradle
The Gradle Plugin for Jenkins supports Gradle builds, automatic installs, and integrates Develocity for enhanced performance tracking.
What is Gradle Plugin?
This plugin enhances Jenkins by adding comprehensive support for Gradle, similar to how we handle Ant or Maven. Here’s a brief rundown:
Features:
- Gradle Support: Manages Gradle as a tool in Jenkins, complete with options for automatic installation.
- Build Steps: Adds specific build steps for executing Gradle tasks directly within our project pipelines.
- Develocity Detection: The plugin can detect Develocity in console logs for both Maven and Gradle builds, displaying this data right in the Jenkins UI.
Develocity Integration:
- We can automatically include the Develocity Gradle plugin and the Develocity Maven extension in our builds. This is handy for tracking down where we can improve build speeds and efficiency. More details can be found under the Develocity integration section in the plugin documentation.
This addition should streamline our CI/CD pipeline by leveraging Gradle’s powerful features directly within Jenkins.
How to configure Gradle Plugin?
Configuration Steps:
- Accessing Configuration:
- For Jenkins versions before 2.0, go to
Configure System. - For Jenkins 2.0 and later, it's under
Global Tool Configuration. Both are found in theManage Jenkinssection.
- For Jenkins versions before 2.0, go to
Installation Options:
- Automatic Installation:
- Jenkins can automatically download and install Gradle from the Gradle website. Just check the
Install automaticallyoption when setting up Gradle in the configuration.
- Jenkins can automatically download and install Gradle from the Gradle website. Just check the
- Manual Configuration:
- If Gradle is already installed on your nodes, you can configure it manually. Uncheck
Install automatically, and specify the path to Gradle by setting theGRADLE_HOMEenvironment variable.
- If Gradle is already installed on your nodes, you can configure it manually. Uncheck
These settings ensure that Gradle is properly integrated into our Jenkins setup, making it ready for use in our projects.
How to use Gradle Plugin?
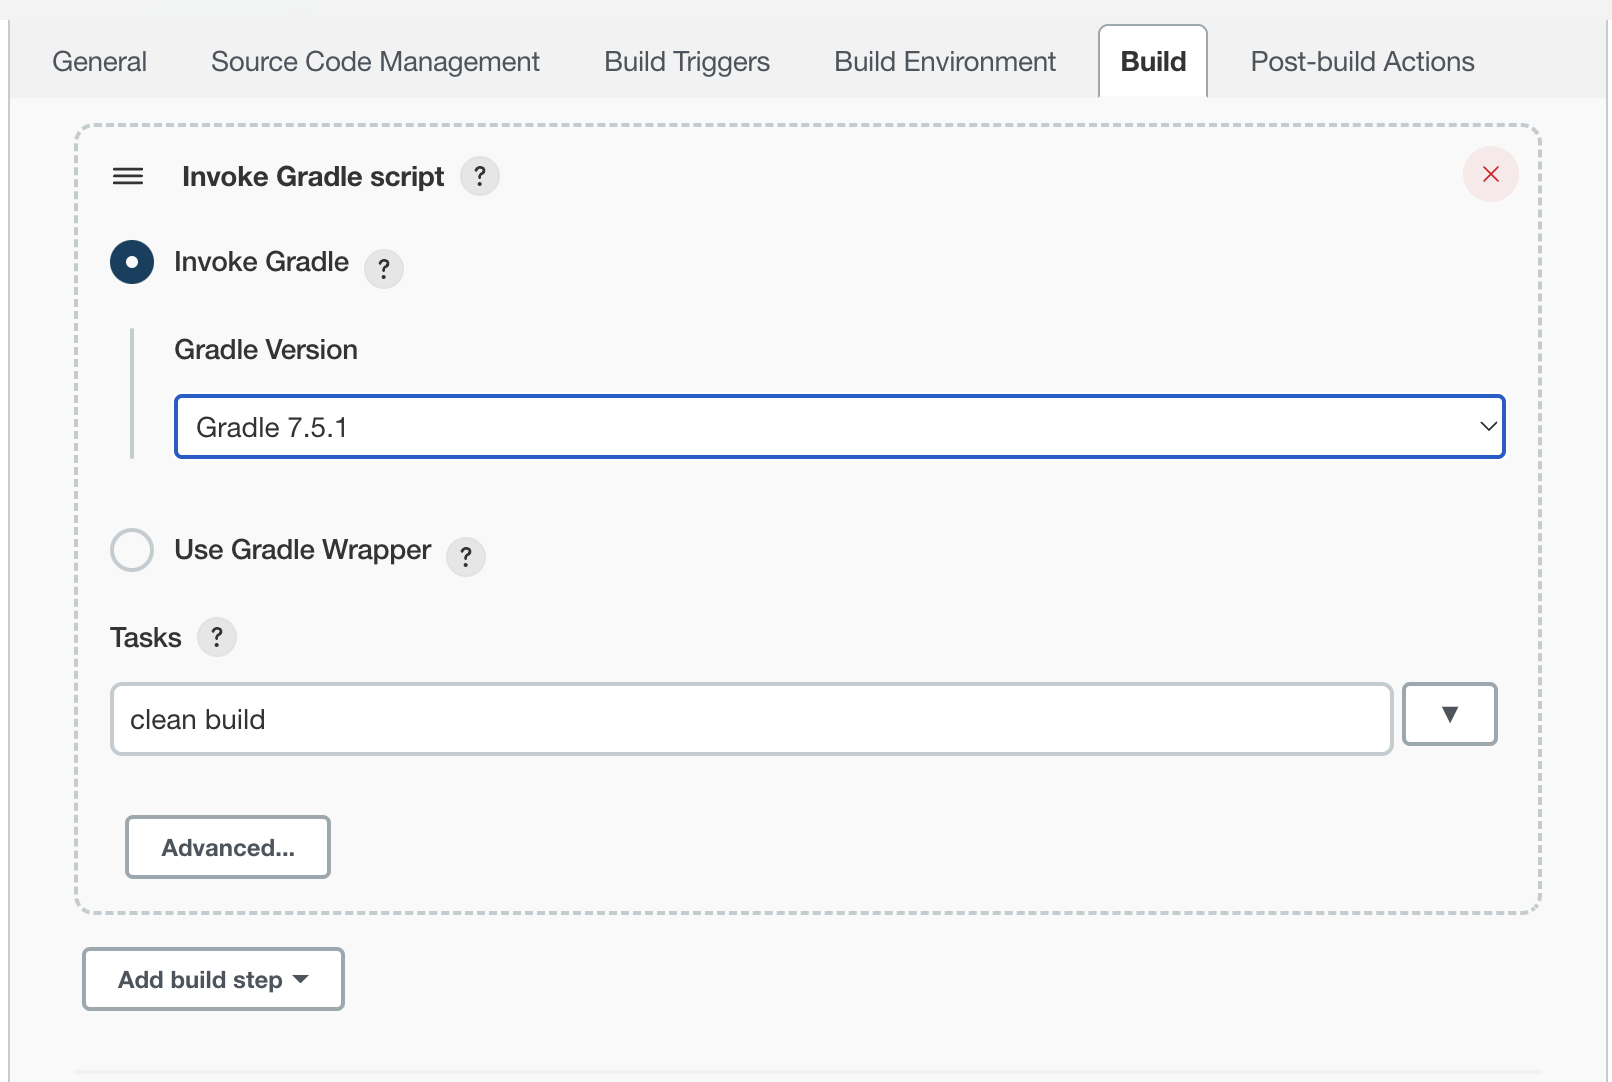
We are setting up the Invoke Gradle script build step in our Jenkins projects and thought you might find the configuration details useful. Here’s how it works:

Build Step Configuration:
- Gradle Installation:
- You can choose to use a Gradle installation already configured in Jenkins or opt for the Gradle Wrapper. The Wrapper ensures that a specific version of Gradle is used for our builds, installing it if necessary.
- Description:
- You can provide a custom description for the build step to make it clear what this step is doing within our pipeline.
- Switches:
- Here you can input any options or switches that need to be passed to the Gradle execution. This modifies how Gradle runs according to our specific needs.
- Tasks:
- Specify which Gradle tasks to execute. If left blank, Jenkins will run the default tasks defined in the build.
- Build Script Path:
- If the build script isn’t in the root directory, you can specify its path here.
- Build Script Name:
- If using a script with a name other than
build.gradle, specify it here.
- If using a script with a name other than
This configuration gives us a lot of flexibility in how we set up our builds with Gradle, ensuring that our builds are tailored to our project requirements.


